Friday, May 31, 2013


Today we finally finished the coarse body work on the driver's side of the car. We did some final hammer and dolly work, filled and sanded some low spots, and finally we sprayed on the self etching primer.

The body work completed before the primer is applied.


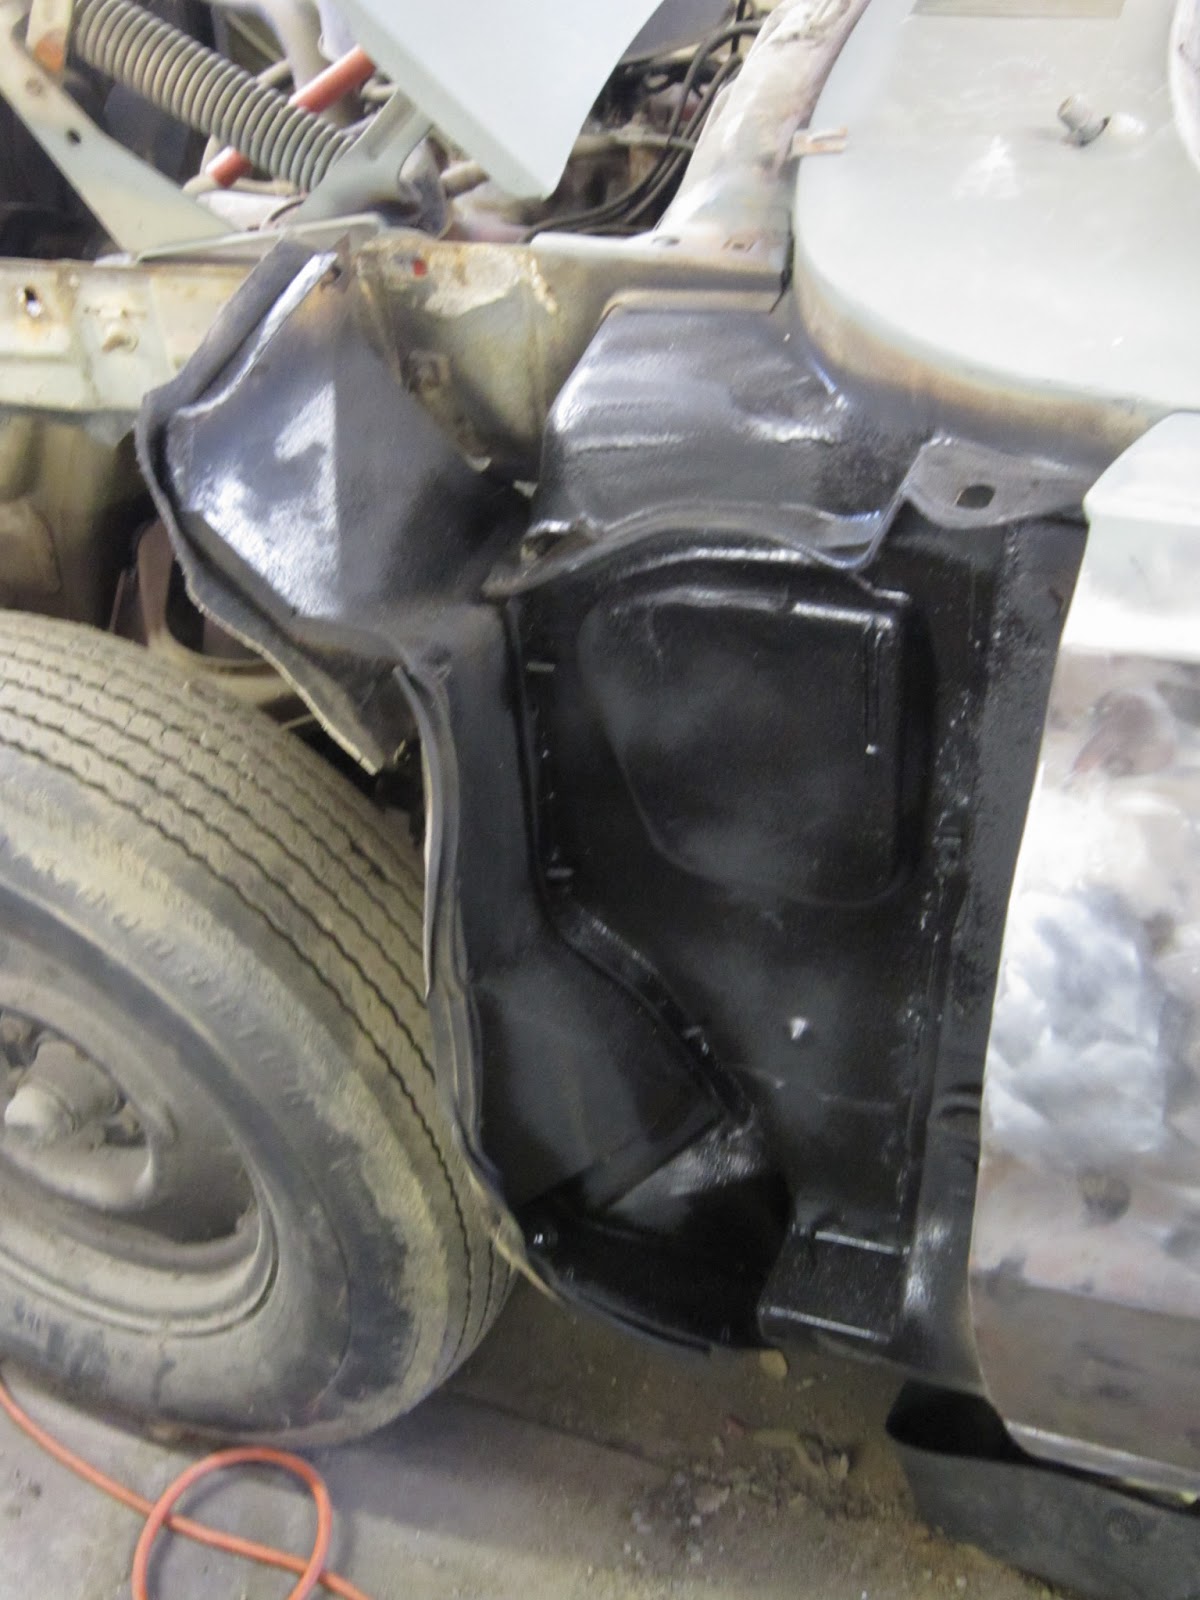
Now the primer is applied and has had time to dry. The worst side of the car has now been turned into the best side of the car.

Tuesday, May 28, 2013

Engine Removal

It has been a while since I had any updates to post because my family's schedule has been extremely busy for the last couple of months. But last Sunday my Dad and I finally had a few hours to clean my carport and get some work done on my Satellite. We took a break from doing bodywork and removed the engine, transmission, exhaust, and engine compartment wiring and components. Here are some pictures of the process:  
The 318 still in it's home.

The work begins.


One critique shared by many visitors to my site was that there were not enough pictures of me. My dad with the camera is making sure to fix that.
318 coming out, never to return.
This engines next home will be in my sisters '69 Dart.


The next engine to live in this compartment will be a freshly rebuilt 440.
 

Thursday, March 21, 2013

More work on the fenders.


We removed the passenger side fender to clean under it and to straighten out some dents. We recently dealt with some of the dents and it is looking good. Also we are getting very close to applying the self etching primer to the driver's side door and fender.


The passenger side fender.
There was a large dent here that we were able to mostly get out with a hammer and dolly.
The driver's side fender coming along well.
This is my dad teaching my sister to sand filler. A skill she will need when we work on her '69 Dart.


Tuesday, March 19, 2013

Glass and dash removal


In the same time frame as the fender and hood replacement we removed the glass and the dash. the only thing complicated was trying to keep the 45 year old rear window gasket intact because the rear one costs several times as much as the front one. This involved slowly pulling on the window on one corner while prying the gasket out at the same time. We succeeded and I saved a few hundred dollars. Thankfully the glass looks pretty good and scratch free so I can hopefully reuse it all. Unfortunately I have no pictures of the process, but here a some pics of the car without glass or a dash.

Carefully removing the window trim was the first step

It sure was cold the night we removed the glass!


With the windshield gone the dash was easy to remove


The rear window was a challenge, due to us wanting to save the gasket

All the trim was labeled and stored for later polishing and re-installation.


Monday, March 18, 2013

Door, Fender and hood.


This is the car with the new hood. But it still has the old fender.
Immediately after fixing the quarter panel and the door jamb we started on the driver's side door and fender and also the hood. It was a lot easier to do this because for the most part this metal was pretty straight. The area around the door handle was a little tweaked from people closing the door too hard and the entire door was covered with layers of brushed on paint. This all was sanded off, the dent was pulled, and we applied some filler, and after sanding we got it pretty close. The fender was another issue because there was a small dent in the upper part of the fender. We tried to use a stud welder at first and this did not work. We could not put a dolly behind the dent because of some reinforcement on the back of the fender. So because we had one, we replaced the fender with a better one from a 67 Belvedere. This fender was way better so it was easier to make it straight. Also this gave us an opportunity to put under-body coating under the fender. We also replaced the hood with a hood off the same 67 Belvedere that the hood came from. Evidently someone crushed the drivers side of my original hood and covered it with Bondo. The new hood took very little sanding and almost no filler to be made nice and straight.        


This is the new fender with the under body coating.


Because we had the fender off anyway we decided to spray under body coating behind the splash shield.


Sunday, March 17, 2013

The quarter panel and door jamb


This is the original quarter panel

A few weeks after the floor repair we took on our next challenge of fixing the drivers side. I bought for $50 a nice door off a 66 Coronet (they had the same door as a Satellite). The next thing we did was start on the smashed quarter panel. We cut out a patch panel from a parts car that was in good condition and cut out the old piece. The door jamb was a challenge. We had to drill out a ton of spot welds on the new piece as well as the old one. After welding on the new pieces and pulling a couple of dents with the spot welder we were off to a good start. The next thing we had to do was get it pretty close with the stud welder and hammer and dolly. Then we used filler to get it down to where all we needed to do was block sand for a perfectly smooth panel.
The original door jamb


The problem is removed!


Out with the old - in with the new!


Using the stud welder to bring the quarter panel in line.


After moving the car into its new car port we finished sanding the filler and coated it with self etching primer.


Saturday, March 16, 2013

Starting work on the sheet metal


After moving and other delays in 2009 I finally started work on the car. First I pulled the bumpers, grill, and taillights and emptied the interior. Then I started on the sheet metal. The first thing I replaced was part of the floorboard where the drive line or something punched a hole. This must have happened a lot because two other parts cars had damage in the same spot. So after using a wire wheel on the grinder to clean up the area we drilled out spot welds where we could and cut the rest. Then we welded on the new piece that we cut out of a parts car, sprayed primer on it, and coated the seam with seam sealer.


Safety first as I prep the repair piece for installation, I am even wearing one of my Dad's old work shirts.

Repair piece held in place with some Clecko's and a jack underneath.


Once the welding was done, everything was primed.
Then a thick OEM style layer of seam sealer finished it off.